

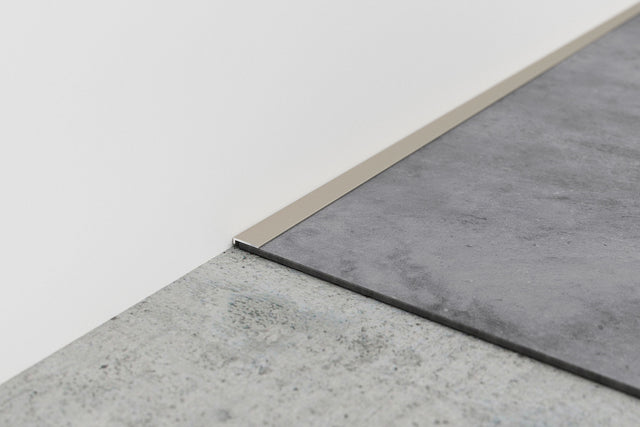
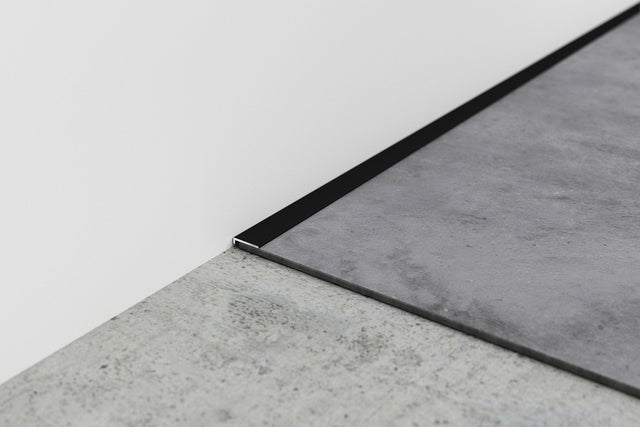
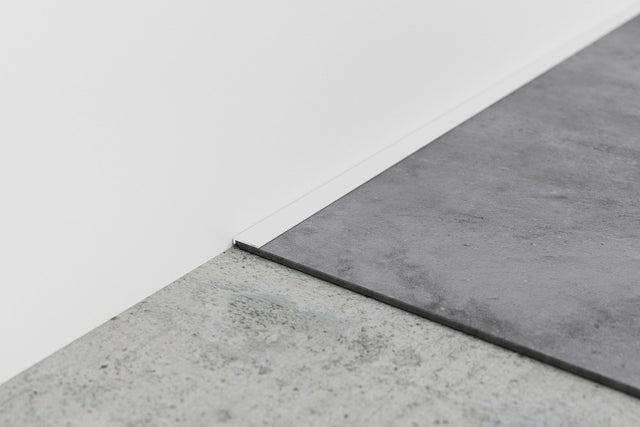
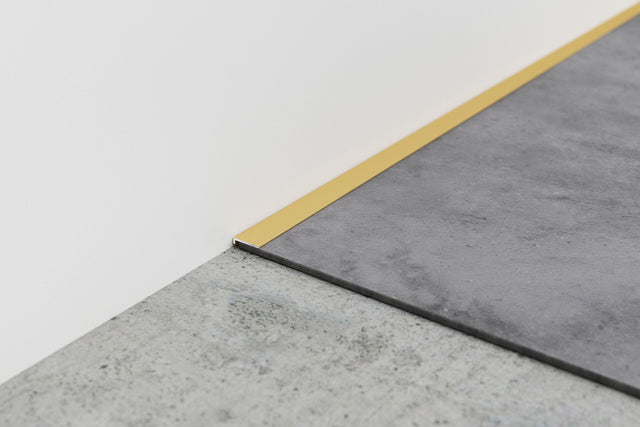
minileiste AL16X2 end profile for adhesive vinyl, 16x3x2000mm
In stock, available immediately
🚚 Shipping: Free shipping from € 150 to the EU
⏱ Delivery time: 2-6 working days | 🚀 Express delivery possible
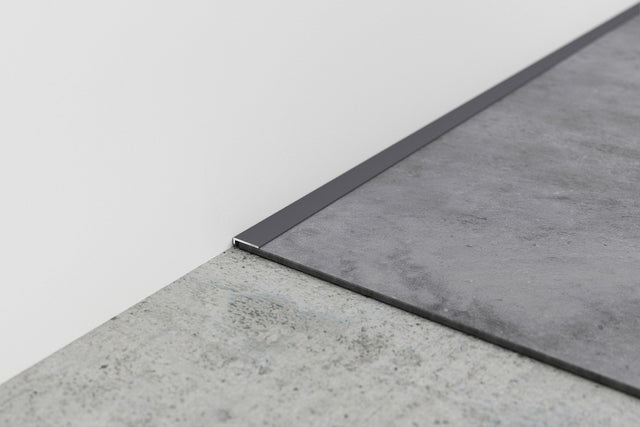
End profile for floor thicknesses up to 5 mm. Connection joint 2 - 5 mm.

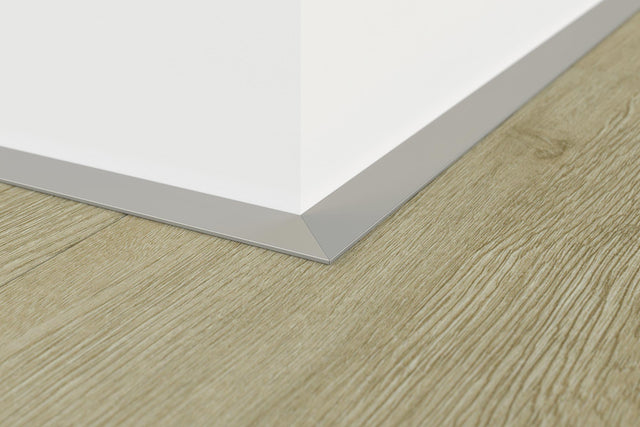
The AL16X2 end profile creates a discreet and innovative finish from flooring to wall, window(frame) or stair step - wherever connection and expansion joints have to be observed in terms of construction.
Suitable for: Adhesive vinyl
Accesories
minileiste X2 series

Tool-free, quick and easy
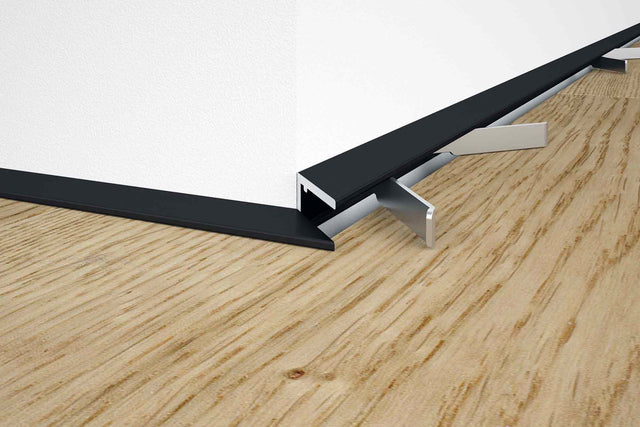
The end profiles from minileiste can be installed easily , without tools and without visible fastening points : no drilling, no screwing, no hammering, no dirt, no noise, no annoyance. Irregularities in the masonry can be easily leveled out by simply attaching additional adhesive strips if necessary.
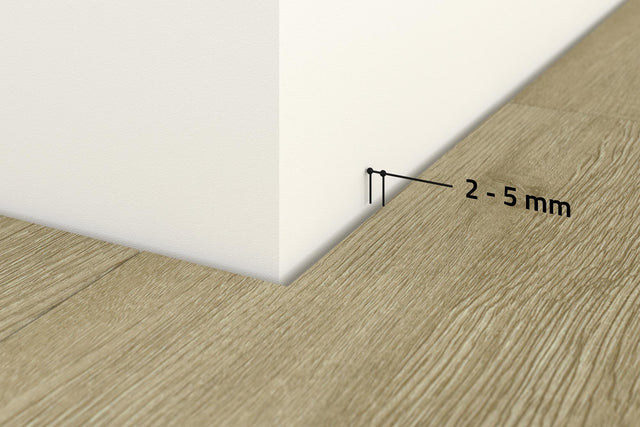
Step 1
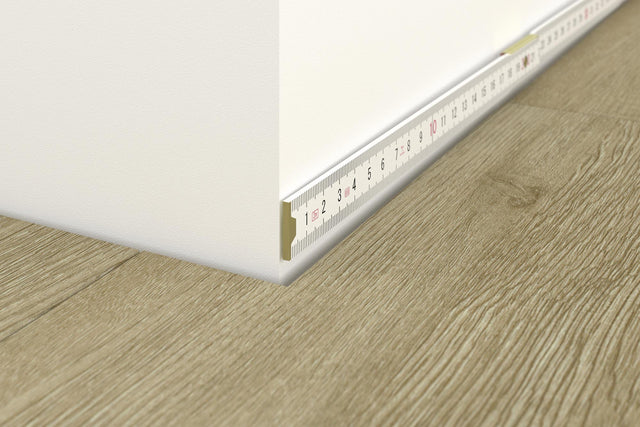
The width of the connection joint should be between 2 and 5 mm. The thickness of the flooring must also be taken into account. Type X2 systems can be used with a minimum floor covering thickness of 2 mm up to 5 mm.
Step 2
The dimensions for the profile cuts are taken from the wall surfaces. Miter cuts for inside and outside corners are taken into account.
Step 3
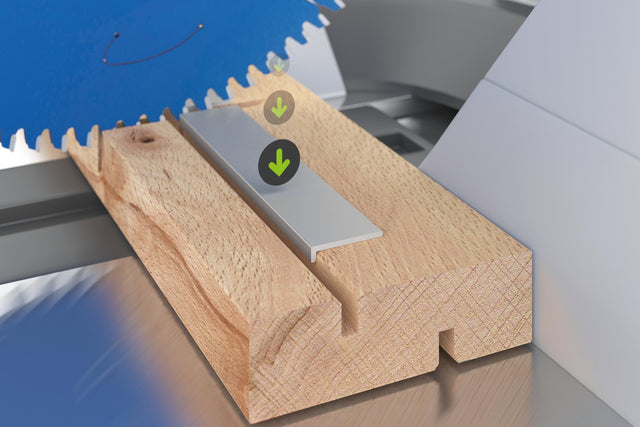
The profiles are cut to length. The miter cut for inside or outside corners is made in one step. The profile is securely positioned in the cutting aid. This prevents the profile from jamming during the cutting process.
Step 4
The individual profiles are „tried on“ WITHOUT adhesive BEFORE installation. If everything fits, the profiles are removed again and gluing begins.

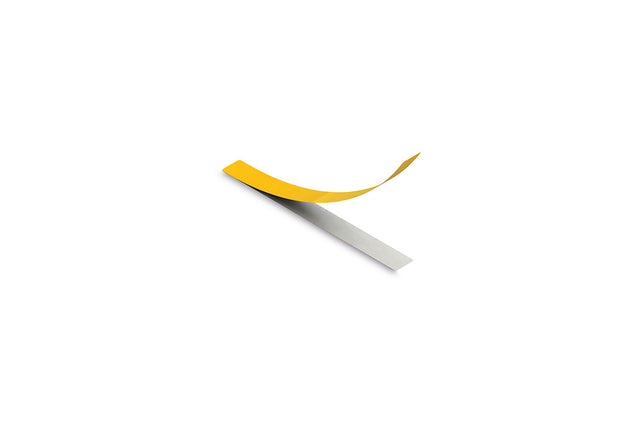
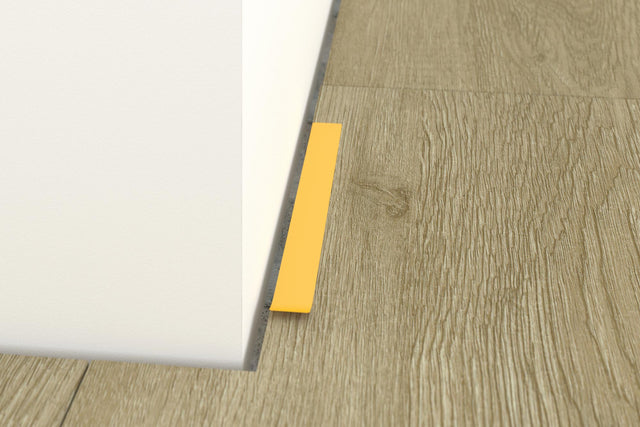
Step 5
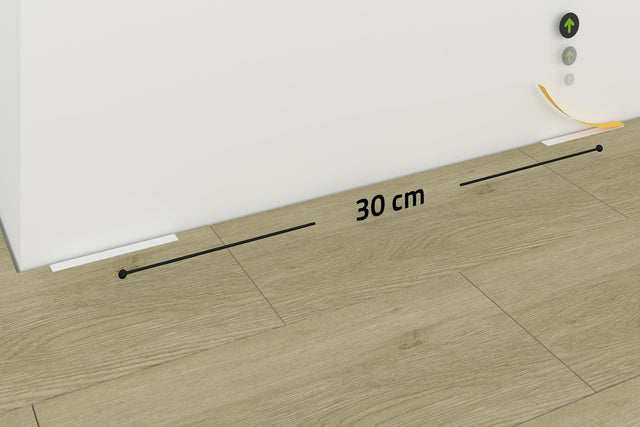
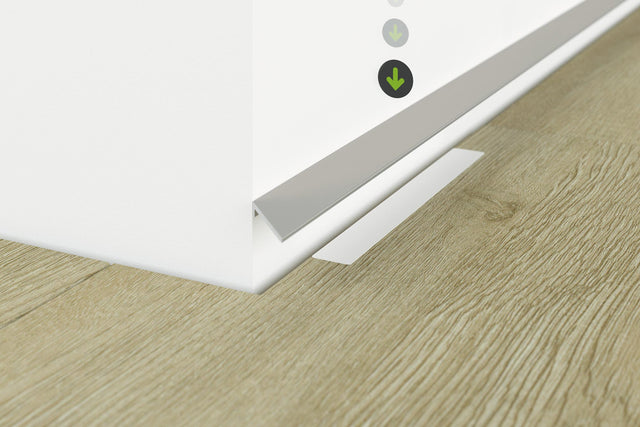
The individual adhesive strips are pulled off from the adhesive sheet (observe the pull-off tab) and glued to the floor covering flush with the edge of the connection joint on the long side. The floor covering must be dry and free of dust or grease. Clean before installation if necessary. Ideal installation temperature from +15°C to +30°C.
Step 6
Step 7
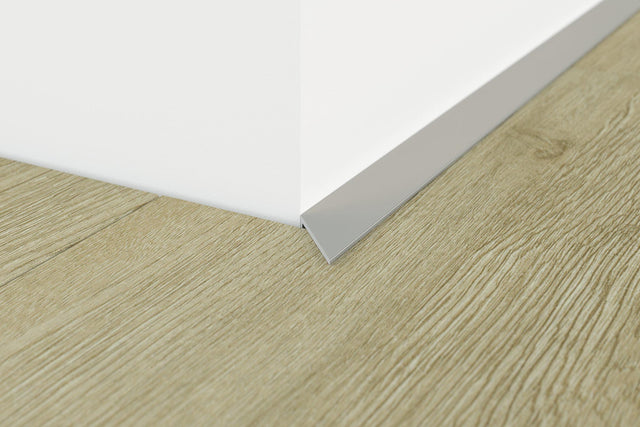
Now the end profile can be guided along the wall and simply glued onto the adhesive strips. Correct positioning is important because after the first adhesive strip, the skirting board can no longer be moved parallel to the wall.
Step 8
The end profile is installed. After a brief inspection, the next section can be assembled.


Konrad-Zuse-Platz 8
81829 Munich
Germany
info@floor-family.de
Monday till Thursday
08:00 - 18:00
Friday
08:00 - 12:00
Erlerstrasse 17
6020 Innsbruck
Austria
info@floor-family.at
Monday till Thursday
08:00 - 18:00
Friday
08:00 - 12:00
Via Roma, 108/Edificio CD1
20060 Milan
Italy
info@floor-family.it
Monday till Thursday
08:00 - 18:00
Friday
08:00 - 12:00
124 Rue Reaumur
75002 Paris
France
info@floor-family.fr
Monday till Thursday
08:00 - 18:00
Friday
08:00 - 12:00
Our payment options
Safe and easy


Our logistic partners
Fast and reliable


