


Smart Profiles SP-SF20X15 shadow gap profile, 16x40x2000mm
In stock, available immediately
🚚 Shipping: Free shipping from € 150 to the EU
⏱ Delivery time: 2-6 working days | 🚀 Express delivery possible
The SP-SF20X15 shadow gap profile made of high-quality aluminum allows for the easy creation of elegant shadow gaps—both in drywall construction and solid building applications. With its compact leg length of just under 15 mm, it offers maximum flexibility with minimal material use.

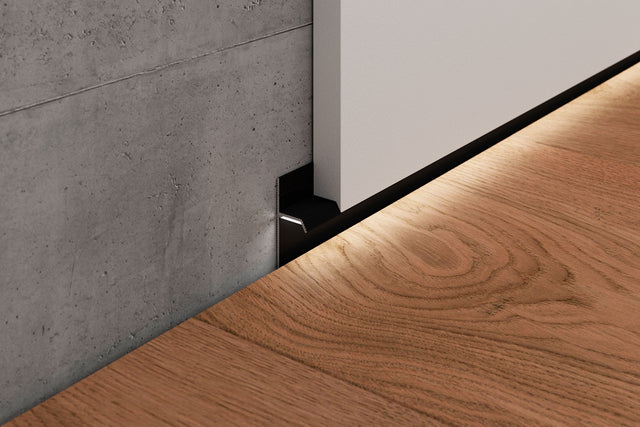
The profile can be glued or screwed and is ideal for indirect lighting: by integrating a homogeneous COB LED strip, subtle lighting accents are created without visible light points - completely without an additional diffuser. This not only reduces material and installation costs but also makes the system particularly efficient and low-maintenance.
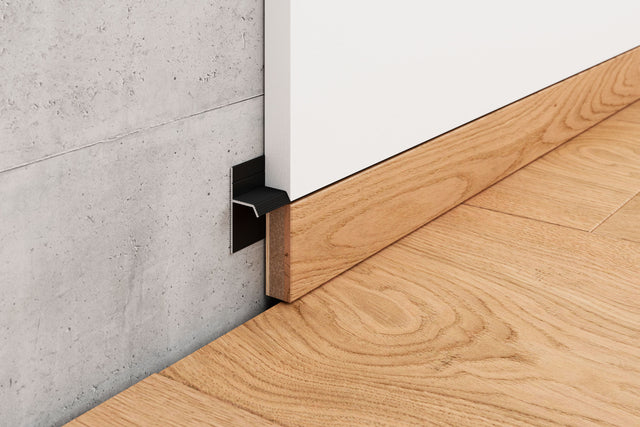
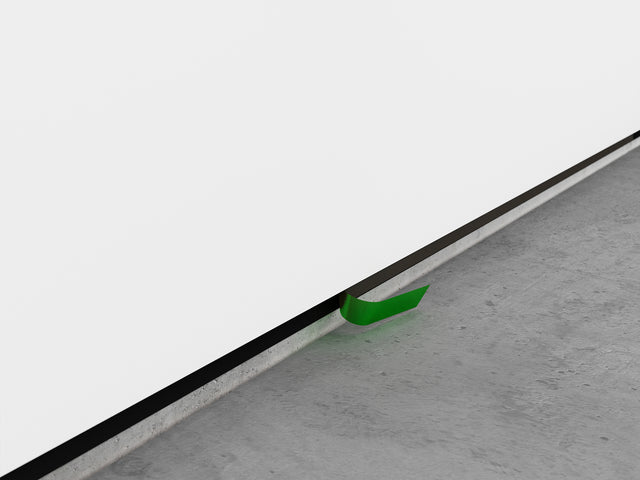
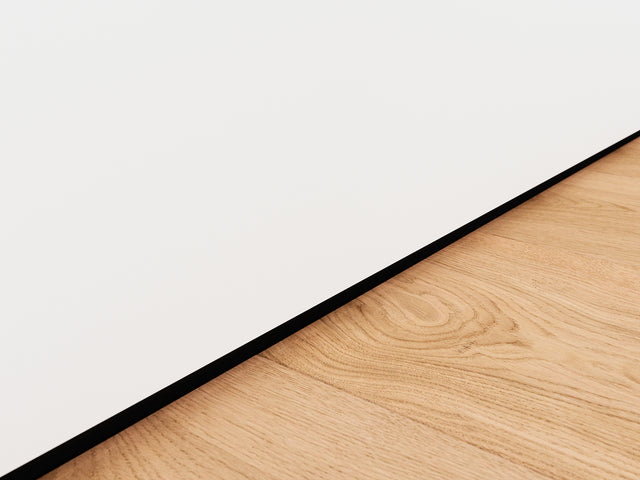
Additionally, the SP-SF20X15 can be used as a base profile for flush-mounted skirting boards. Flooring up to 15 mm thick can be glued directly - resulting in a clean, seamless, and modern room design.
The SP-SF20X15 - an efficient aluminum profile with three applications for modern architecture and sophisticated interior design.
1 profile, 3 possibilities
The SP-SF20X15 – an efficient aluminum profile with 3 applications for modern architecture and sophisticated interior design.
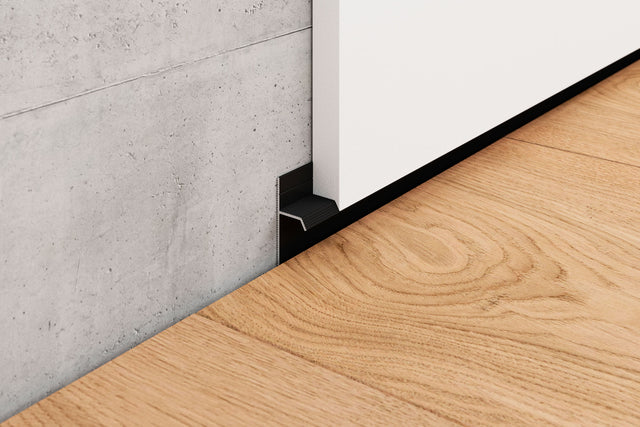
Shadow gap profile
Indirect lighting in the skirting area
System as a flush-mounted skirting board
Easy installation in just 6 steps
Thanks to the smart SP-SF20X15 profile system and the simple instructions, installation is quick and precise - ensuring perfect lines and visible quality in every detail.
Step 1 - Preparation
The installation height of the profile depends on the final floor build-up, as this determines the height of the shadow gap.
The substrate must be even, clean, and load-bearing. Check the subfloor for unevenness and level if necessary:
- Local high or low spots greater than 2 mm over 1 m must be corrected.
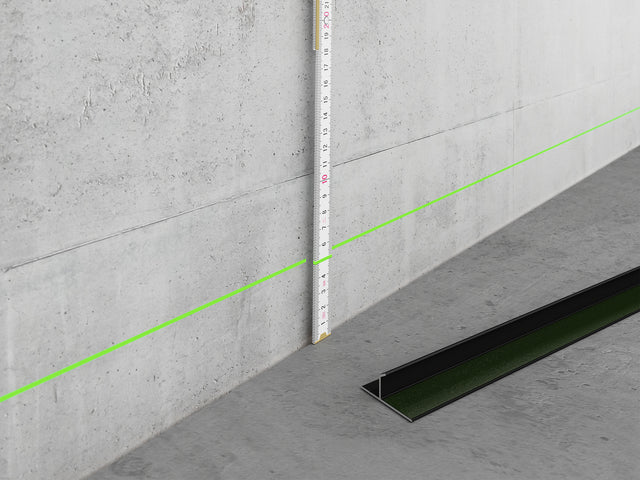
- Check flatness using a 2 m straightedge or a laser (recommendation according to DIN 18202, line 2).
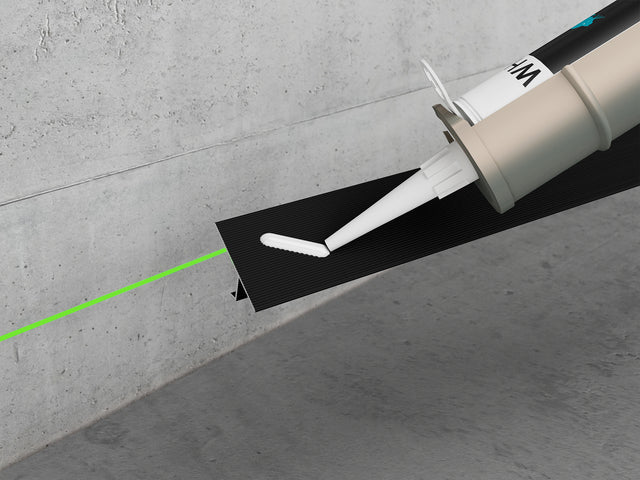
Step 2 - Installation of the profiles
The wall surfaces (drywall or solid construction) must be dust-free, dry, and capable of holding adhesive.
The profiles are applied with standard assembly adhesive on the back and glued to the wall. Alignment is done using a laser to ensure an even shadow gap.
Alignment is done using a laser to ensure a consistent shadow gap.
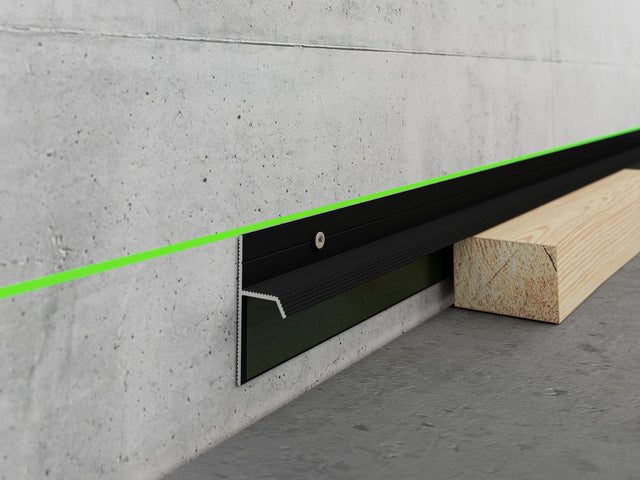
Step 3 - Fine adjustment
Alternatively or additionally, the profiles can be mechanically screwed.
Use the integrated countersink as a drilling guide. Corners are miter-cut and aligned flush.
For profiles with an LED lighting system, the electrical work is prepared and laid in this step.
Step 4 - Plastering or paneling
- Solid construction: The base plaster is carefully applied over the profile’s putty edge.
- Drywall: The paneling is installed up to the profile, then the joint is filled with putty and also smoothed over the putty edge.
Step 5 - Wall finishing
After completing the plastering or putty work, the wall can be finished (e.g., painted).
After drying and final treatment, the protective film on the profile is removed.
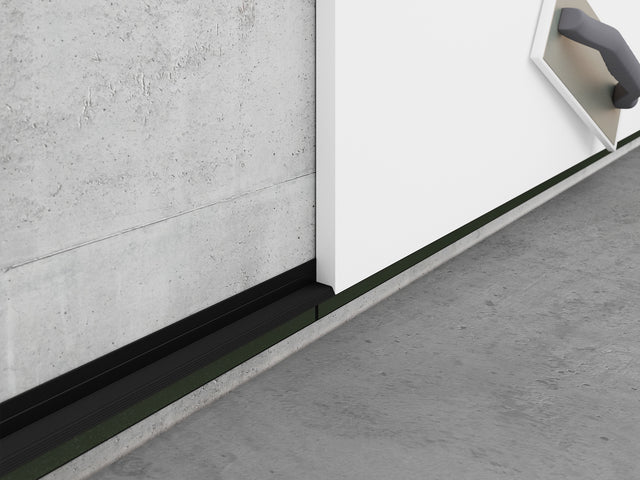
Step 6 - Floor installation
After the wall surfaces are completed, the floor is installed.
For profiles with integrated LED lighting, the electrical installation must be completed before laying the floor.
When using the profile as a base for flush-mounted skirting boards, the skirting can finally be glued or inserted into the shadow gap.


Konrad-Zuse-Platz 8
81829 Munich
Germany
info@floor-family.de
Monday till Thursday
08:00 - 18:00
Friday
08:00 - 12:00
Erlerstrasse 17
6020 Innsbruck
Austria
info@floor-family.at
Monday till Thursday
08:00 - 18:00
Friday
08:00 - 12:00
Via Roma, 108/Edificio CD1
20060 Milan
Italy
info@floor-family.it
Monday till Thursday
08:00 - 18:00
Friday
08:00 - 12:00
124 Rue Reaumur
75002 Paris
France
info@floor-family.fr
Monday till Thursday
08:00 - 18:00
Friday
08:00 - 12:00
Our payment options
Safe and easy


Our logistic partners
Fast and reliable


