Skip to content
Free standard shipping 🚚 from € 150 into UE
by Smart Profiles

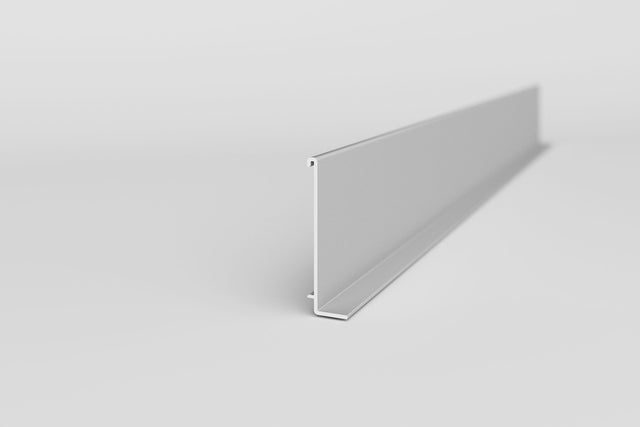
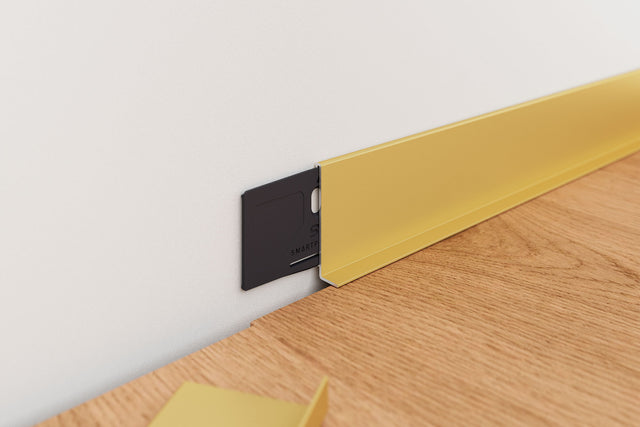
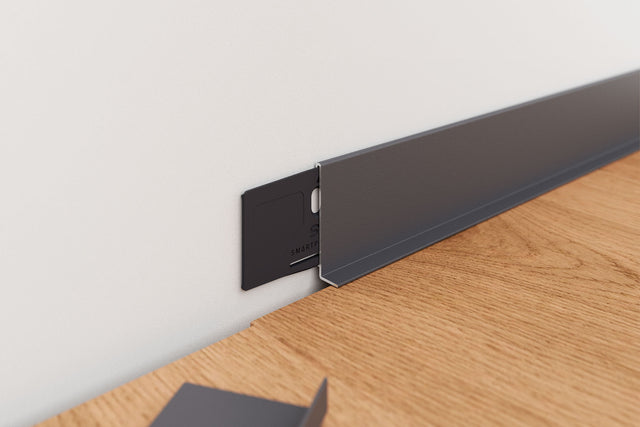
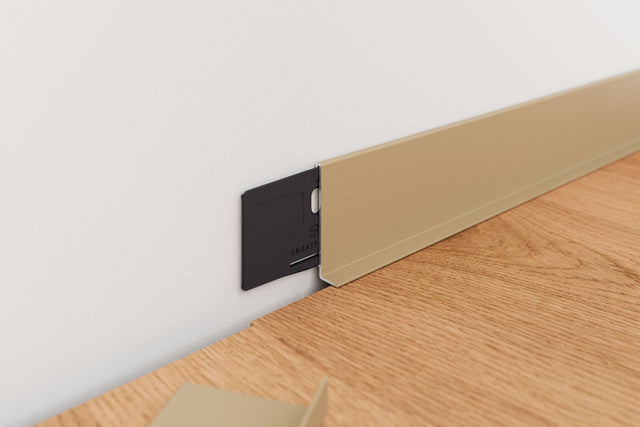
Smart Profiles SP-SL50 Skirting Board, 14×50×2000 mm

-5%
Sale price€21,48Regular price €22,61
Unit price €10,74 EUR/m
Tax included. Shipping calculated at checkout.
SKU:

In stock, available immediately
🚚 Shipping: Free shipping from € 150 to the EU
⏱ Delivery time: 2-6 working days | 🚀 Express delivery possible

Order free samples now

✔ Dimensions: 14 x 50 x 2000 mm
✔ Quick and easy installation
✔ Suitable for all types of flooring
✔ Only 3 mm thick
✔ No dust buildup on the skirting boards
✔ Flexible
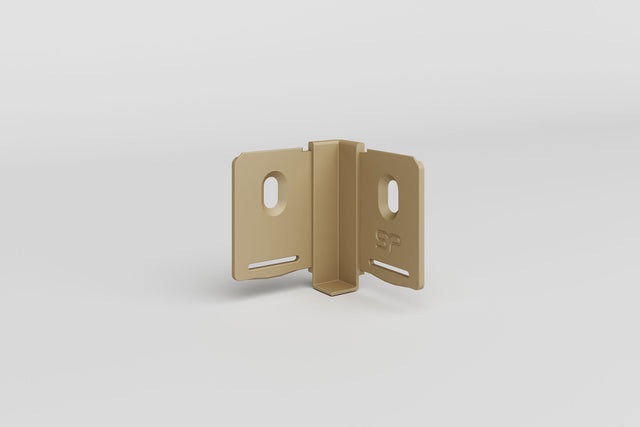
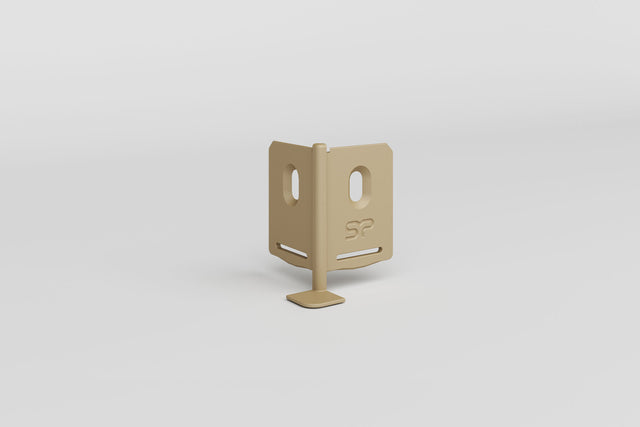
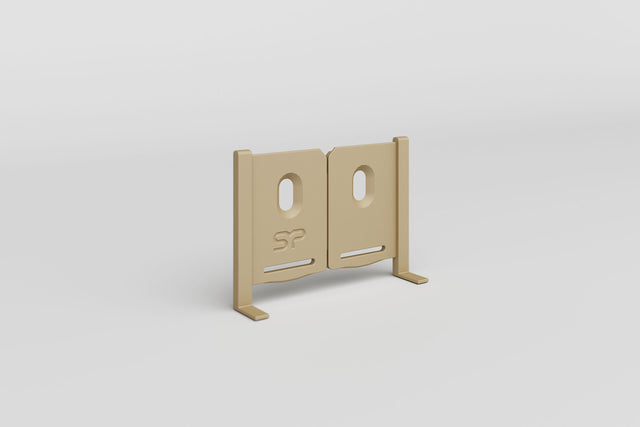
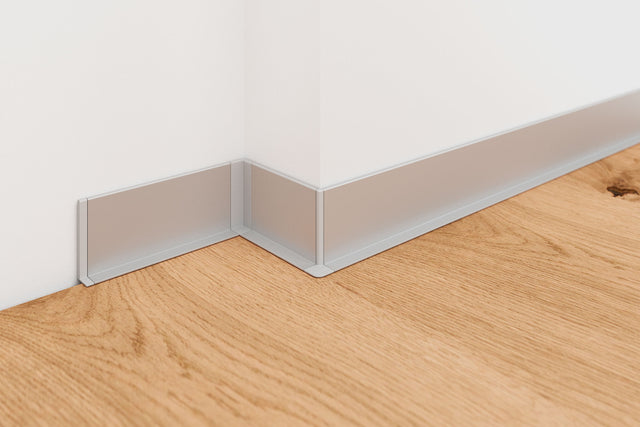
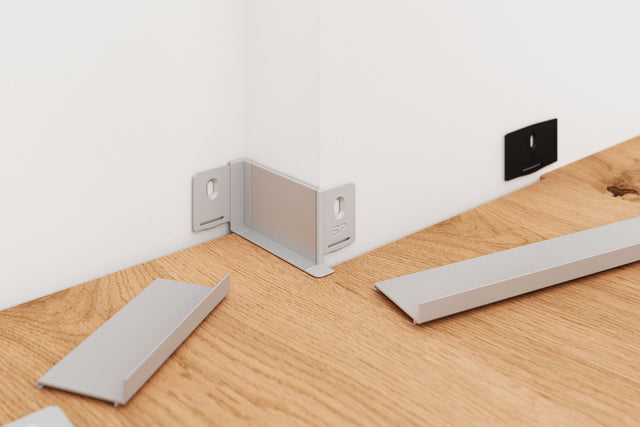
✔ Corner connectors for internal and external corners
✔ Water-resistant, rustproof and temperature-resistant
✔ Durable and high-quality
✔ Sustainable and healthy for living spaces
✔ Made in Austria

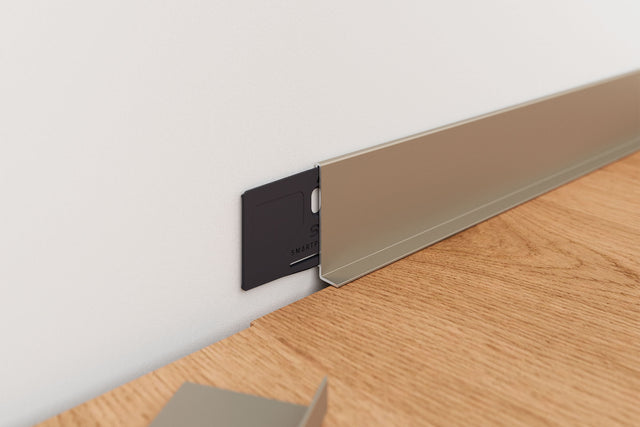
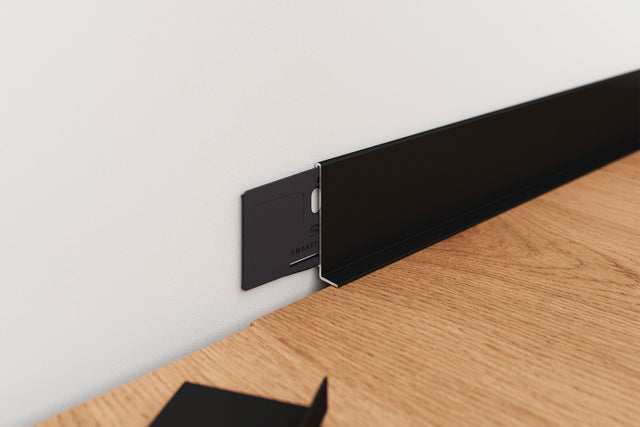
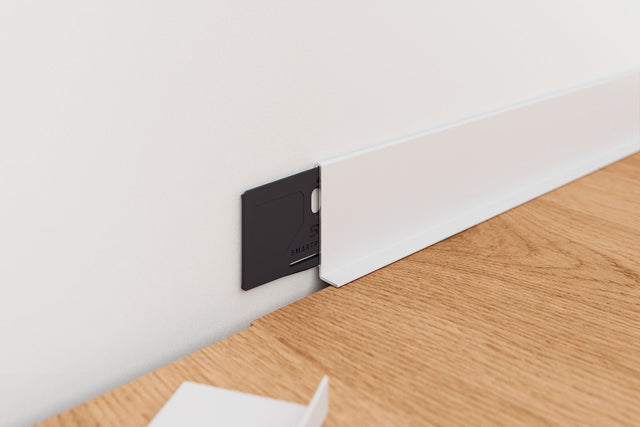
Select Color

Flexible skirting profile for all floor thicknesses. Expansion gap up to max. 15 mm.

The patent-pending SP-SL50 skirting system, with an installation height of just 3 mm, is the most refined skirting board in the world with an integrated clip system. Its design does not interfere with the expansion gap, allowing the floor to move freely and making it suitable for all types of flooring.

The profiles are flexible, adapt to uneven walls, and remain dimensionally stable despite their slim design. High-quality standard finishes and custom powder coatings offer maximum design freedom.

Installation and removal are carried out using the mounting clip: glue or screw in place, hook in, clip – done. Corner connectors replace complex miter cuts, while the clips themselves help prevent impact sound transmission into the wall.

Alternatively, the SP-SL50 system can be easily bonded to any wall surface using standard монтаж adhesive. However, this method does not allow for easy removal.

Made from recycled aluminum, the SP-SL50 system is durable, flexible, and fully recyclable.

100% aluminum. Surfaces elegantly anodized or finished with high-quality powder coating.

Individual profile bars, each 200 cm in length. The profiles can be easily joined and installed using corner connectors or cut to miter for corners.

Mounting clips type SP-CLIP50 and installation tool SP-MH50

0 / 0

1 profile, 3 installation options

The SP-SL50 - an efficient and flexible aluminum profile with three installation options, designed for modern architecture and sophisticated interior design.

Clip installation

Adhesive clips

Installation instructions

Clip installation

Screws & wall plugs

Installation instructions

Direct bonding

Mounting adhesive

Installation instructions

Installation option 1: Adhesive clips

Clean and fast installation – ideal for all solid, clean wall surfaces with good adhesion.

Step 1 - Preparation

Step 1 - Preparation

Wall surfaces must be fully plastered, filled and/or painted. All wall and skirting areas must be clean, dry and free of dust. The flooring must be fully installed, with an expansion gap between floor and wall of no more than 14 mm.
Step 2 - Prepare adhesive clips

Step 2 - Prepare adhesive clips

Insert the adhesive clips into the installation tool with the arrow marking facing upwards and remove the protective paper. Then guide it along the floor towards the wall, position the clip and stick it in place, then remove the installation tool. Finally, press the adhesive clip firmly for a short time.
Step 3 - Install adhesive clips

Step 3 - Install adhesive clips

The clips are installed along the wall at intervals of approximately 60 cm. Depending on the wall surface, the spacing can be adjusted as needed. In difficult areas, the clip can alternatively be screwed in place using the central slotted hole.
Step 4 - Install skirting boards

Step 4 - Install skirting boards

The aluminum skirting board is hooked into the mounting clips at the top and then clicked into place towards the wall. Thanks to its flexibility, it easily adapts to slight unevenness. For 90° corners, no miter cuts are required - suitable corner connectors are used instead.
Step 5 - Align skirting boards

Step 5 - Align skirting boards

Align the skirting board centrally on the mounting clip to ensure precise positioning and allow the next board to be joined seamlessly end to end.
Step 6 - Finishing

Step 6 - Finishing

All skirting boards can be installed quickly and easily. If needed, they can just as easily be unclipped and securely reattached at any time.

Installation option 2: Clip installation with screws and wall plugs

Secure and durable installation - perfect for demanding surfaces.

Step 1 - Preparation

Step 1 - Preparation

To determine the vertical position of the drill holes for the wall plugs, a marking is made on the wall using the installation tool. The side notches of the tool serve as a guide for precise alignment. The recommended spacing between the clips is approx. 60 cm.
Step 2 - Drill and insert wall plugs

Step 2 - Drill and insert wall plugs

Drill holes for the wall plugs at the marked positions. Then insert the appropriate wall plugs flush with the surface. Make sure not to damage any pipes or cables, that the plug is firmly seated, and does not protrude.
Step 3 - Install clips

Step 3 - Install clips

Position the mounting clip correctly in the installation tool and guide the screw through the central opening. Tighten the clip until it is securely fixed to the wall without any play. The installation tool ensures straight and precise alignment of the clip. Repeat the process for all remaining fixing points.
Step 4 - Install skirting boards

Step 4 - Install skirting boards

The aluminum skirting board is hooked into the mounting clips at the top and then clicked into place towards the wall. Thanks to its flexibility, it easily adapts to slight unevenness. For 90° corners, no miter cuts are required - suitable corner connectors are used instead.
Step 5 - Align skirting boards

Step 5 - Align skirting boards

Align the skirting board centrally on the mounting clip to ensure precise positioning and allow the next board to connect seamlessly end to end.
Step 6 - Finishing

Step 6 - Finishing

All skirting boards can be installed quickly and easily. If needed, they can just as easily be unclipped and securely reattached at any time.

Installation option 3: Mounting adhesive

Invisible fixing - quick to install and especially discreet. No mounting clips or installation tool required!

Step 1 - Preparation

Step 1 - Preparation

Cut the skirting board to the desired length and position it precisely against the wall. The wall surface must be clean, dry and stable to ensure optimal adhesion. Then remove the skirting board again and prepare it for adhesive application.
Step 2 - Apply mounting adhesive

Step 2 - Apply mounting adhesive

Apply the mounting adhesive evenly to the back of the skirting board. The adhesive should be applied in dots or lines to ensure proper distribution and adhesion. Make sure to use enough adhesive without it squeezing out at the sides.
Step 3 - Attach skirting board

Step 3 - Attach skirting board

Place the skirting board in the intended position against the wall and press it evenly into place. Hold it briefly to allow the adhesive to bond properly with the wall. If necessary, slightly adjust the position while the adhesive has not yet set.
Step 4 - Align and finish

Step 4 - Align and finish

Align the skirting board in its final position and press it firmly along its entire length. Remove any excess adhesive immediately to ensure a clean finish. Allow the adhesive to cure according to the manufacturer’s instructions before applying any load.